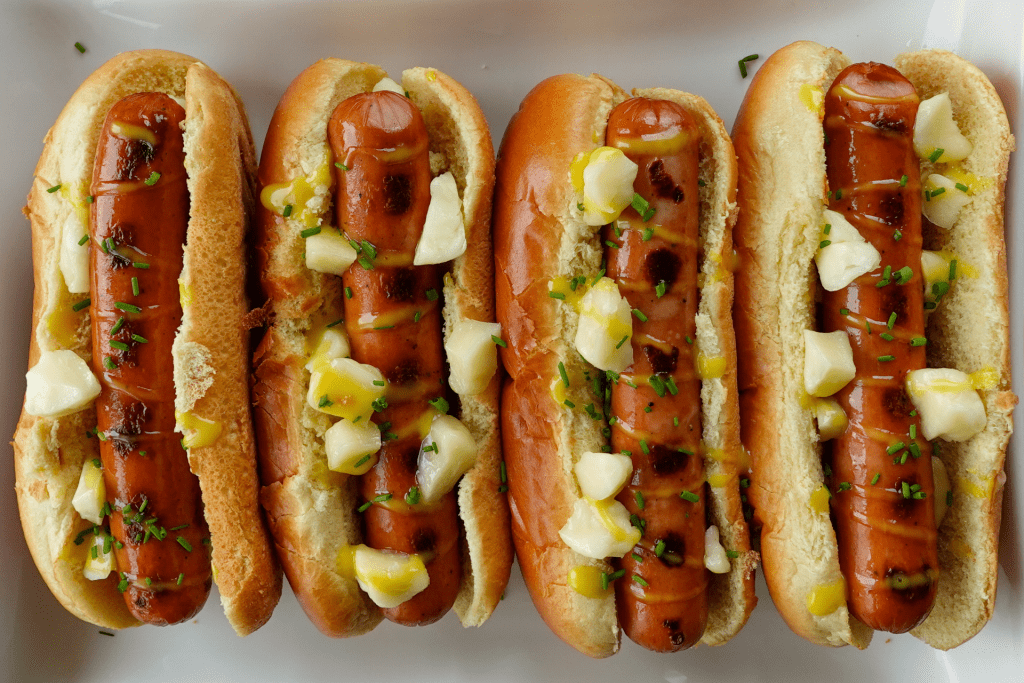
 June 26, 2025Canada Day eats, but make it extra Canadian 🍁 These Chicken Smokies with Maple Aioli & Cheese Curds are the…
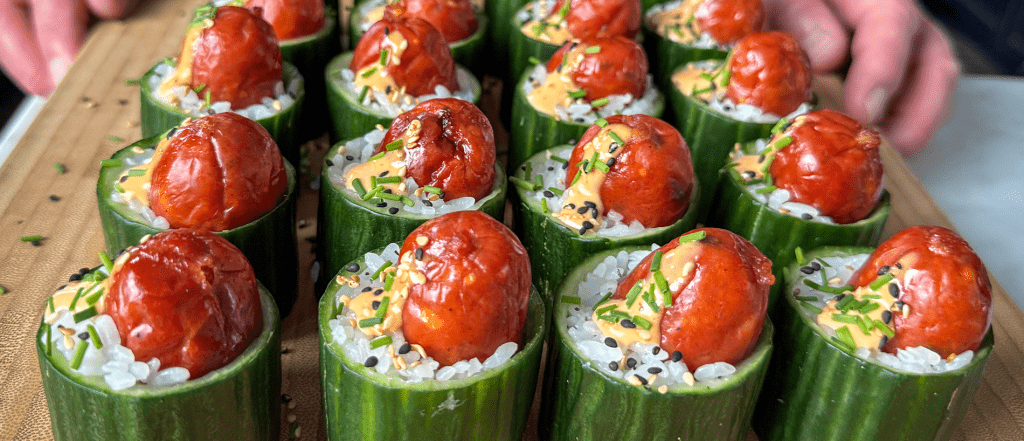 June 25, 2025Warm Smokie Popper “Sushi” Bites in Cucumber Cups—made by Zimmy’s Nook—are a bold twist on classic party snacks. Featuring smoky,…
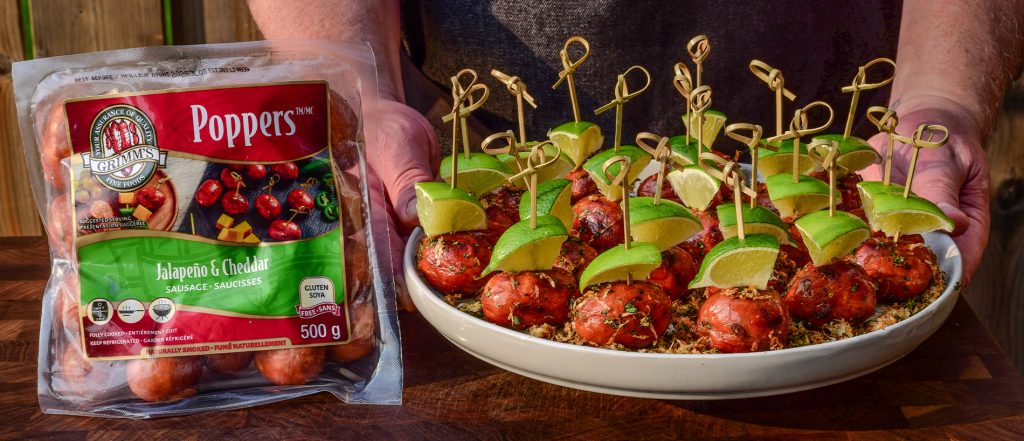 June 11, 2025If you’re looking for a great party bite that’s easy to prep, quick to grill, full of flavour and fun…
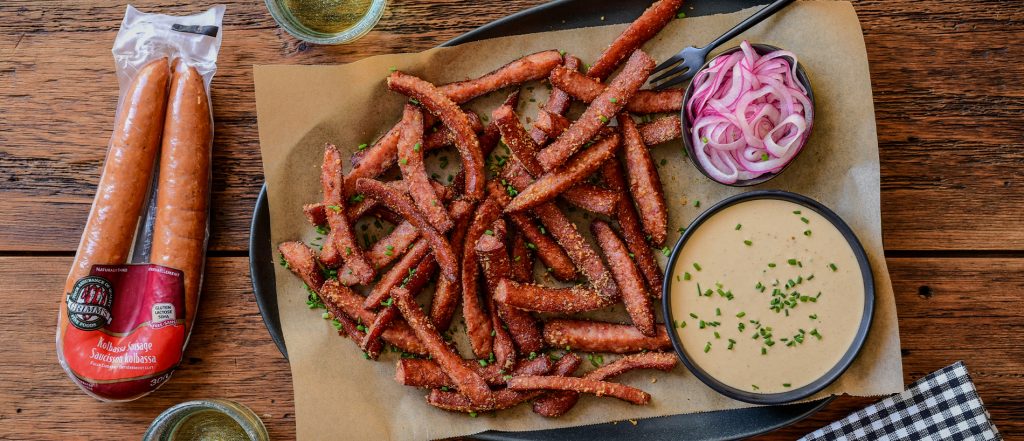 May 27, 2025May is Celiac Awareness Month, and this recipe is proof that gluten-free eating can still bring the crunch, the comfort,…
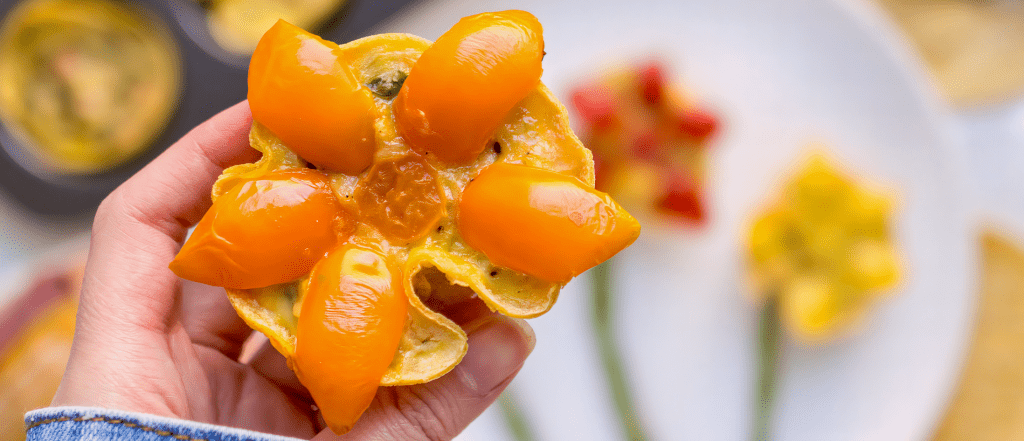 May 20, 2025May is Celiac Awareness Month, and there's no better time to celebrate safe, delicious recipes that everyone can enjoy —…
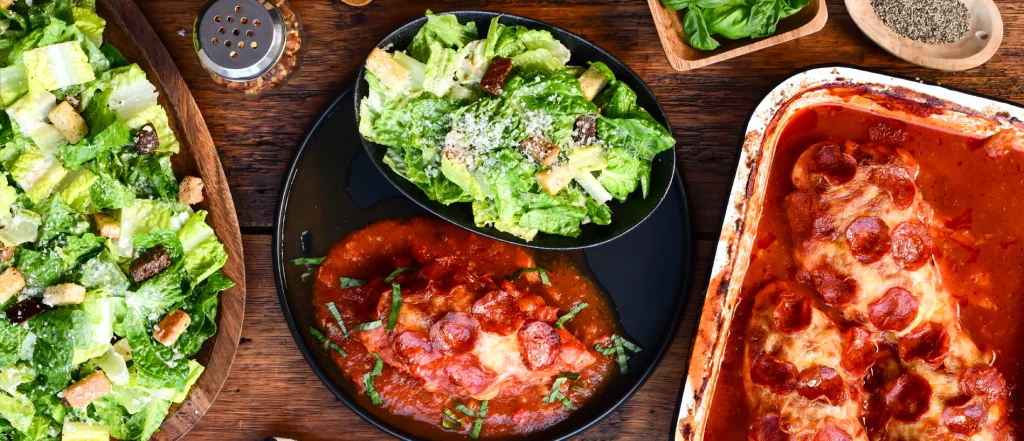 March 6, 2025Inspired by traditional Italian Chicken Pizzaiola, this recipe transforms a classic dish into a uniquely indulgent experience. Tender chicken breasts…
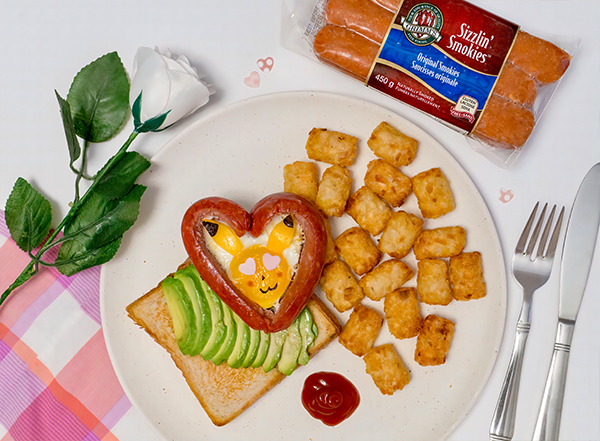 February 7, 2025This Sausage Egg Heart Avocado Toast by Kristy (@aka.foodiedreams) is the perfect way to surprise your special someone with a…
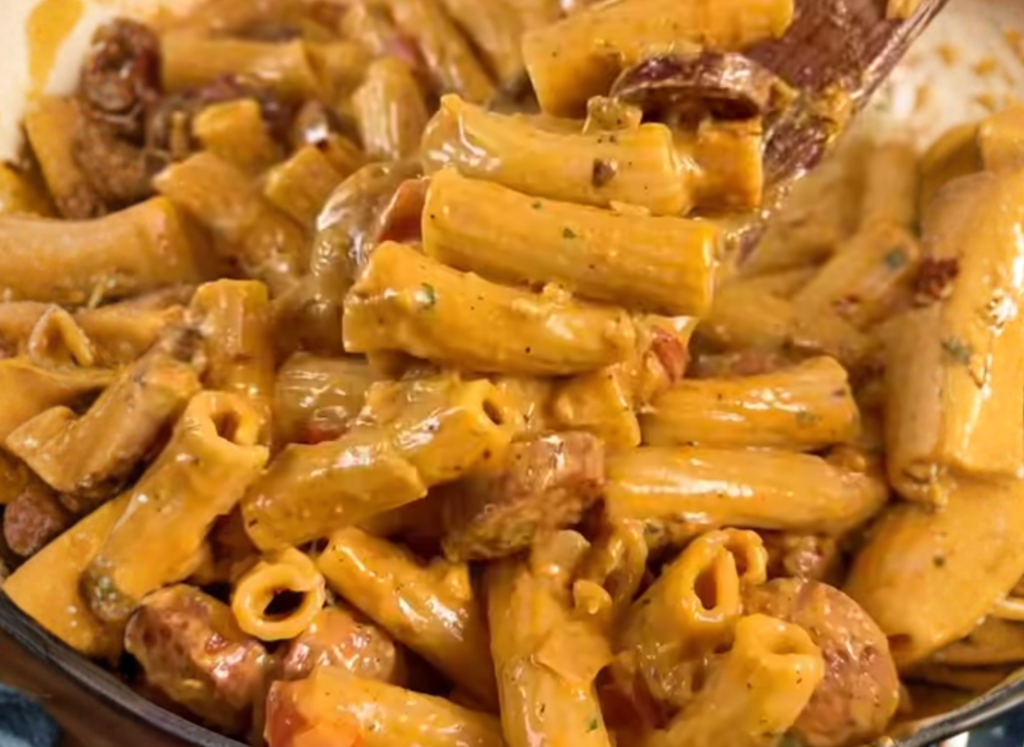 January 27, 2025We’ve teamed up with Ben Chelin (@recipeincaption) to create a dish that’s guaranteed to impress! The secret to taking this…
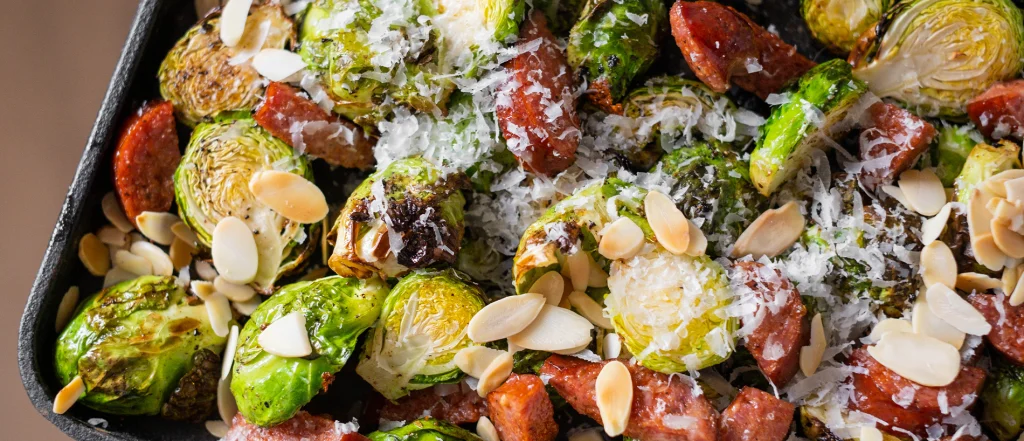 December 20, 2024Looking for a last minute side dish to wow your guests? Look no further! This holiday season, let's spice things…
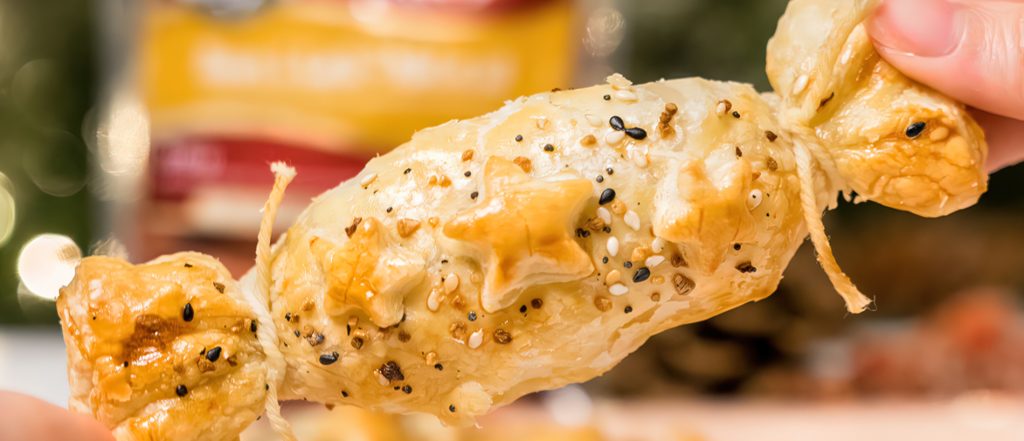 December 16, 2024‘Tis the season for sharing, and these Honey & Garlic Pepperoni Party Poppers by @aka.foodiedreams are the ultimate holiday crowd-pleasers! With flaky…